I don’t like writing long articles explaining the importance of having your website in search engine results. Your website has to be everywhere, period. So let’s dive into details and add your site to Bing Webmaster Tools.
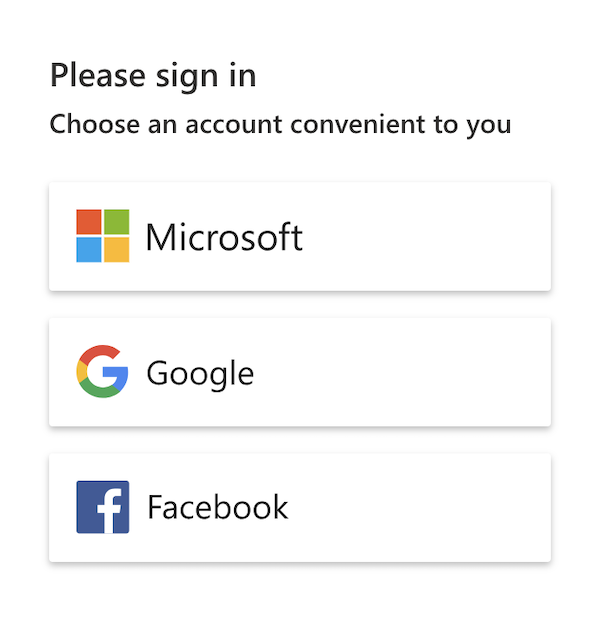
Open Bing Webmasters and create an account if you don’t have one yet.

You can choose your preferred method. I’d use a Google Account.
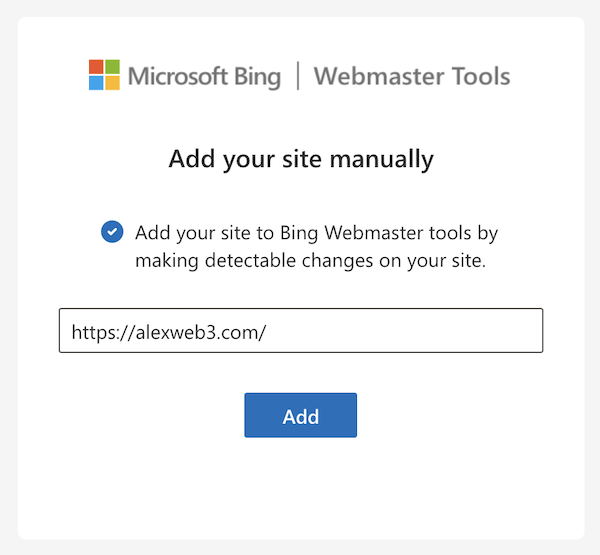
In the next step, Bing offers us two options: manually adding your website or importing your settings from Google Search Console. I don’t want to integrate Bing with my Google settings, so I will use the manual option.
Now we need to enter the website address that will be added to Bing.
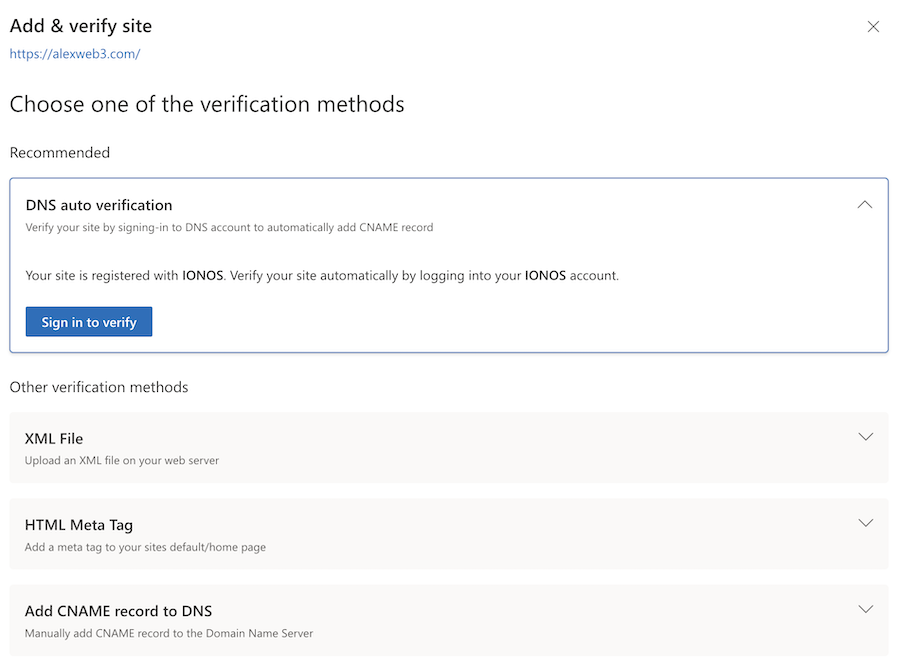
Choose One Of The Verification Methods
In the next step, they ask us about the verification method we would like to use to prove ownership of such a domain name: DNS auto-verification (may not be available for your case, it depends on using DNS servers), XML file, HTML Meta Tag, or adding a CNAME record to your DNS settings.
You can expand every available option to get detailed information on what you should do to confirm your ownership. Let’s see what’s inside. Choose only one method; you don’t have to proceed with every step. Pick the best suitable method for you, such as HTML code or uploading an XML file.
XML File
If you choose the XML file method for verification, you need to download a special file from Bing Webmaster Tools and upload it to your website’s main directory using your hosting panel file manager or FileZilla client. This helps Bing confirm your ownership super fast.

HTML Code
With this method, you’ll add a small piece of code provided by Bing Webmaster Tools into your website’s HTML code. It’s a way for Bing to recognize that you’re in control of the site. Just follow their instructions.
If you use a CMS like WordPress and one of the SEO plugins, you can find these confirmation options inside your plugin settings. In other cases, you need to add the given HTML code into your <head> section in your homepage layout.

CNAME DNS Record
Adding a CNAME record to your DNS settings involves making a special kind of entry that helps Bing verify your website ownership. It’s like giving Bing a special key to your website’s address.

Every time I need to confirm my website ownership, I prefer using DNS. Please note, it may take up to 48 hours to propagate changes across the world DNS servers. In my case, it took about 5 minutes.
Let’s see how to add such a CNAME record to DNS settings.
Navigate to your domain DNS settings (I use IONOS to manage my DNS). In your case, it could be GoDaddy, NameCheap, or something else. Refer to your domain registration email for details.
Here is a screenshot from my IONOS panel.
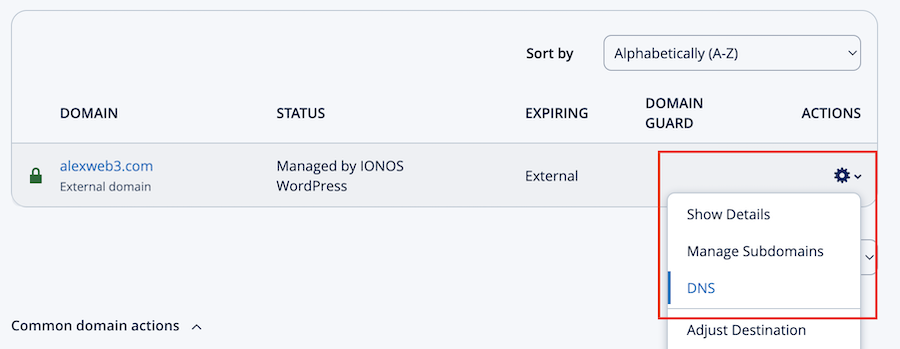
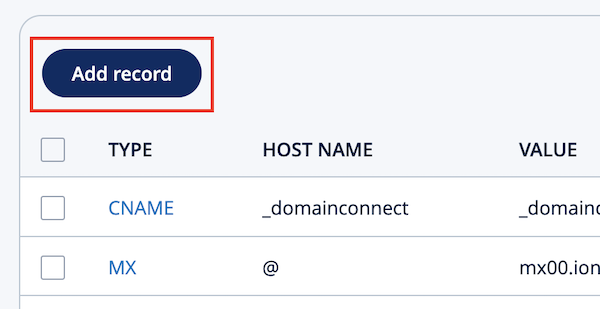
When you log in to your DNS settings, you need to add a new record.
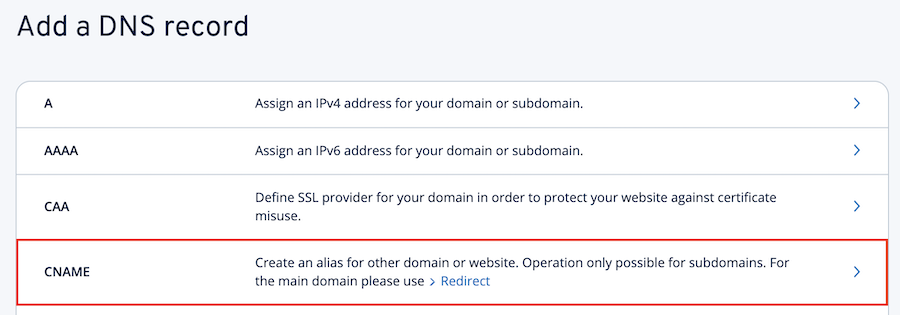
In comparison with Google Search Console, Bing uses a CNAME record instead of TXT. So, pick CNAME record in the list and continue to the next step.
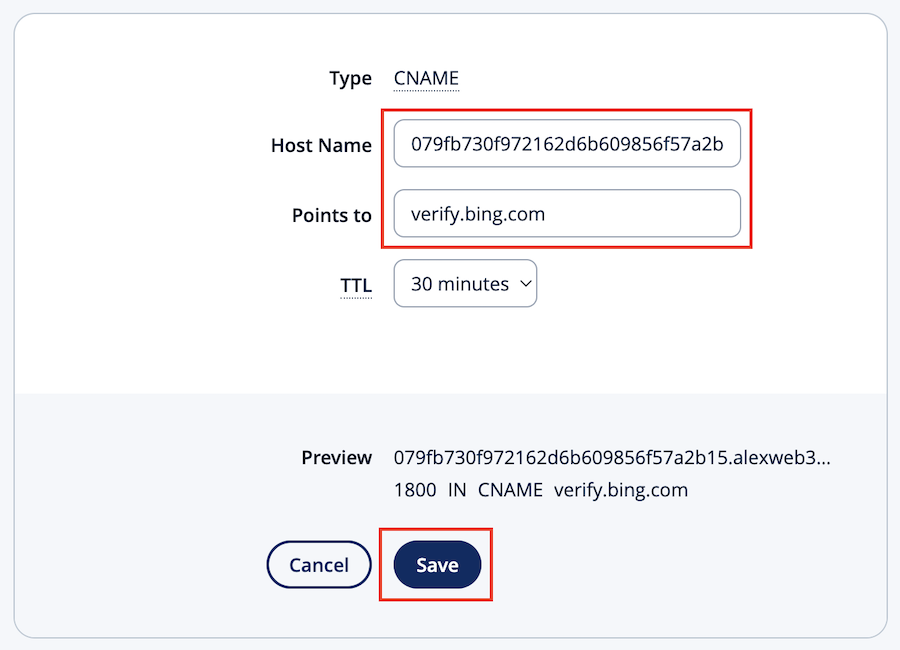
Now we need to fill out two fields: hostname and a destination address. You can get these values from your Bing panel (see screenshot above).
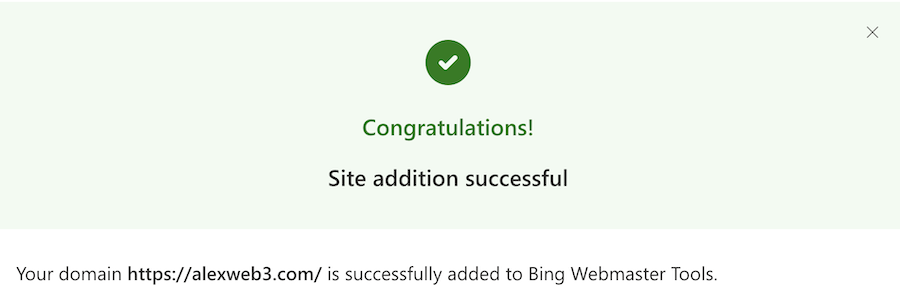
After a short (or not short) period of time, your website will be confirmed on Bing. You will see the following confirmation message. As I said earlier, it may take 24-48 hours. If you don’t want to wait, you can log in later. It’s an automated process.
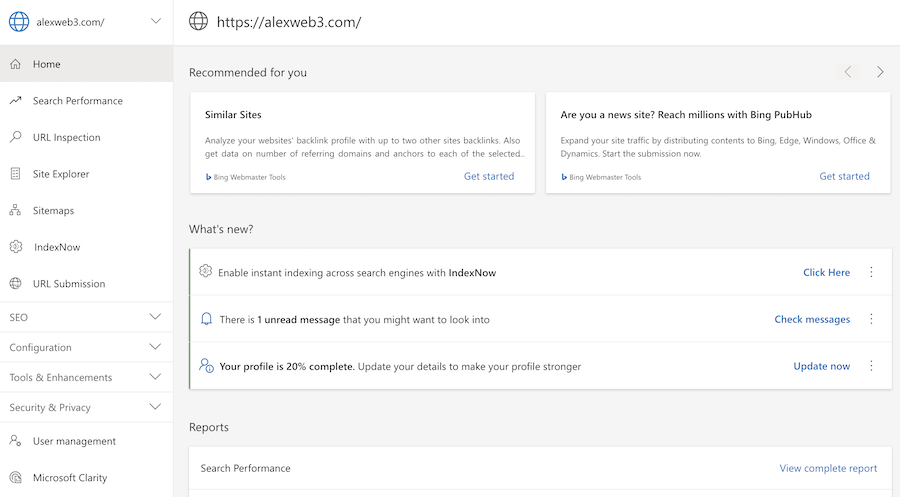
If everything goes well, you will have access to your Bing Webmaster Tool dashboard with all the information about the website. Congratulations!
Anything Else?
But that’s not enough. As your website is newly added to Bing, you need to send your sitemaps and robots.txt files to let Bing know a bit more about your website content, posts, and indexation rules.
I will explain these steps in the following articles. Stay tuned!


0 Comments