In this article, I’m going to show you how to deploy and verify your smart contract written in the Solidity programming language on Ethereum-like blockchain networks (such as Polygon, Binance Smart Chain, etc.). We will use Foundry Forge to flatten contract code, Remix IDE for deployment, and other tools. Let’s go!
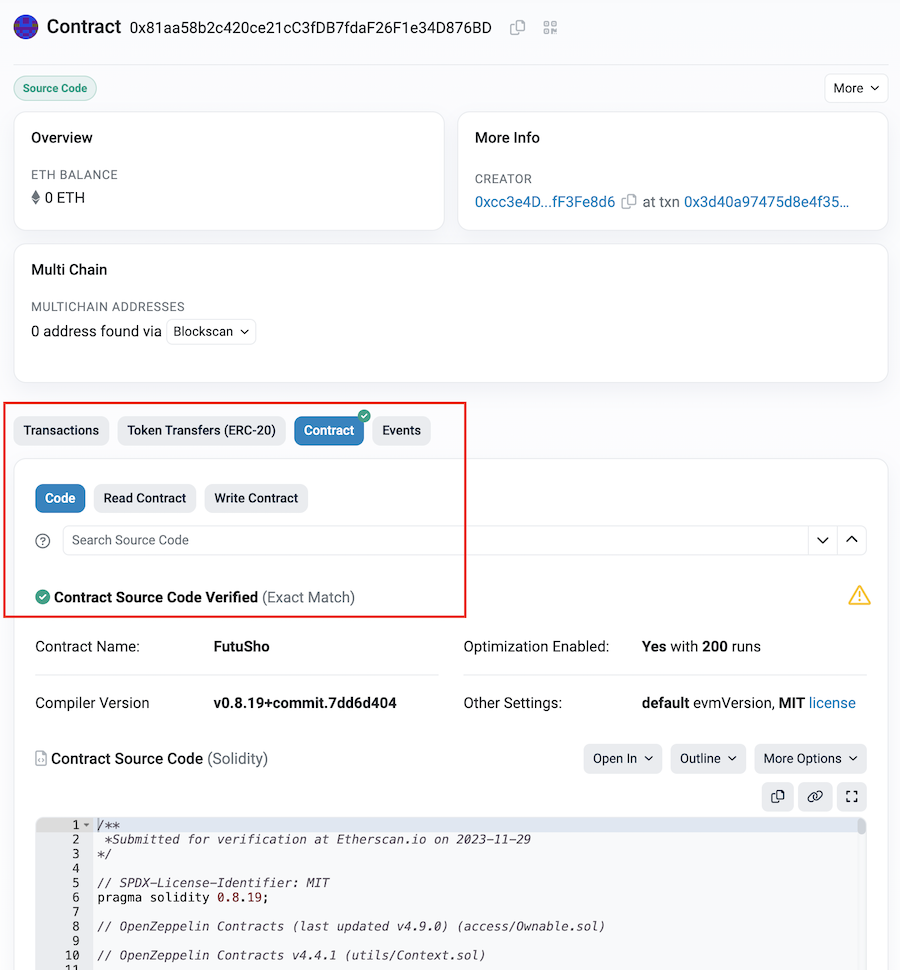
Why smart contract code must be verified?
Please read my previous article. In a nutshell, open and verified code builds trust, verification adds extra safety, verified contracts play well with others, and getting expert approval is an extra layer of security.
Now let’s dive into deployment and verification.
How to deploy a smart contract to a blockchain using Remix IDE
I’m not a big fan of Truffle or HardHat; I’d prefer to use Foundry Forge or Remix IDE for publishing (deployment) smart contracts. Let’s take a look at how the deployment process is organized on my side.
In my case, I’m going to deploy my smart contracts to the Polygon Mumbai network. Everything will be the same for other blockchain networks, such as Ethereum Sepolia, BSC Testnet, etc.
Here is my smart contract that I want to deploy. It’s my web3 marketplace – FutúSho. Let’s deliver this code to Polygon together.
Flatten smart contract code
Maybe it’s not the best practice, and you’d prefer another scenario. There are multiple ways to flatten contract code (even manually), but I’d use Foundry because all my projects were built using such an amazing toolkit.
We need to combine all used modules, libraries, everything in one single file. Let’s call the forge command in the project root directory:
forge flatten src/FutuSho.solHere is how it looks:
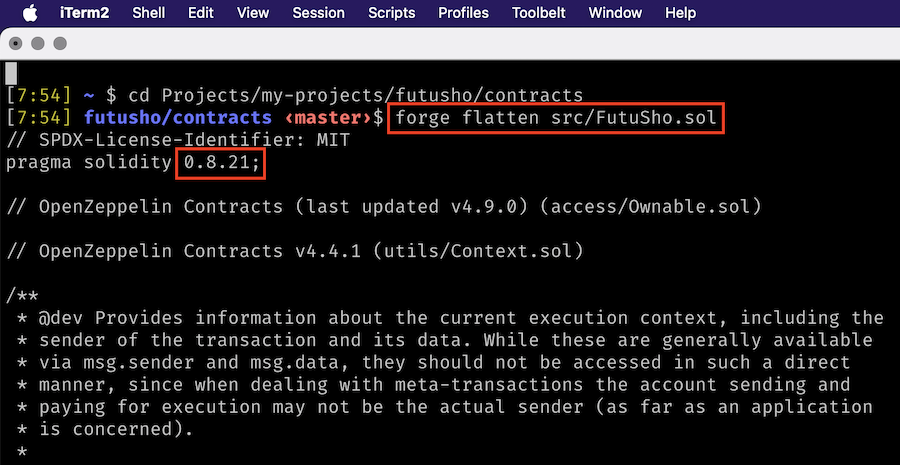
In the output, we will see all contract-related files combined together. It’s exactly what we need. We will need this code a bit later, after we configure Remix IDE.
Configure Remix IDE
In this article, I will use only Remix IDE. I don’t like it so much, actually. But it’s the easiest way to deploy smart contracts. Being a Foundry Forge enjoyer, I’d prefer to deploy using their scripts, but for simplicity, let’s do that using the widely used IDE.
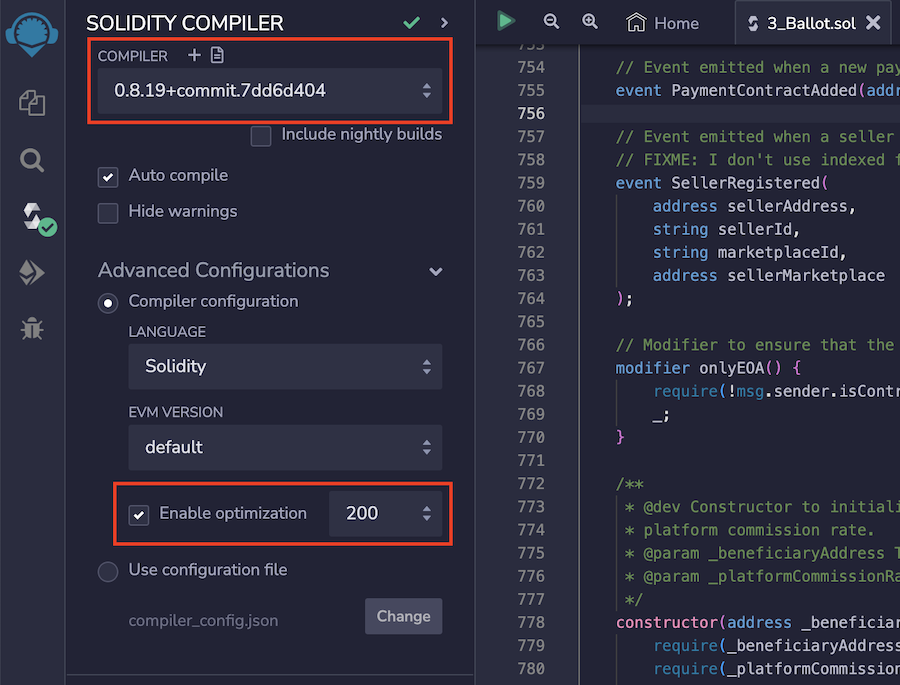
Open Remix IDE and jump into the “Solidity compiler” settings. Here we need to choose our Solidity version and enable optimization with a value of 200. Also, turn on the checkbox “Auto compile”.
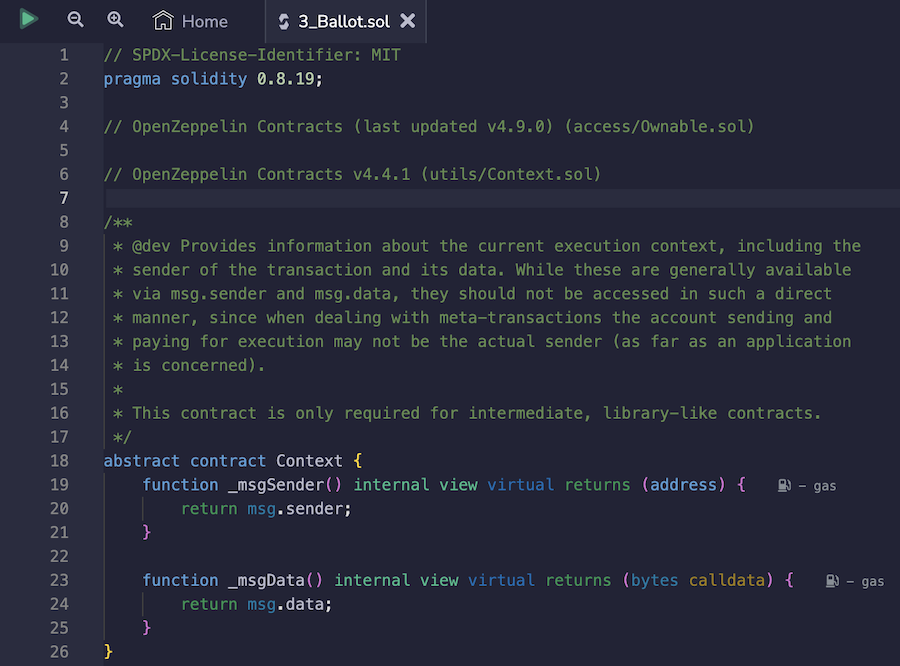
Now jump into the “File Explorer” section in the left menu and in a tree component open “contracts” -> “3_Ballot.sol” file. In the code editor, you will see a sample smart contract code.
Replace code in the code editor with your flattened (from your terminal output) smart contract code, from the previous section.
Now I need to cover important things.
Solidity versions on different blockchain networks can have different implementations. For example, on my laptop, I use Solidity 0.8.21, and I can use the same version when deploying on Ethereum network or Polygon, but this version (0.8.21) might not be the same on Binance Smart Chain or Tron blockchains.
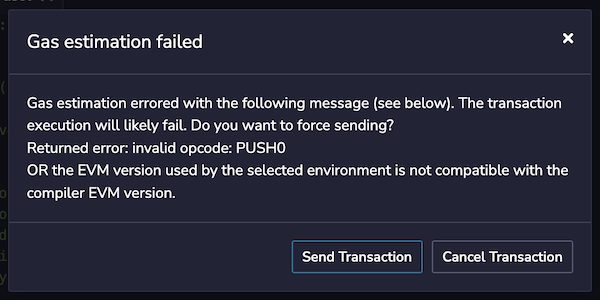
If you faced any issues with deployment, you can try to change your version to 0.8.19 directly in the Remix IDE, or you can try to send a transaction (finger crossing). In my case, everything was great, and I was able to deploy with 0.8.21 to Binance Smart Chain Testnet.
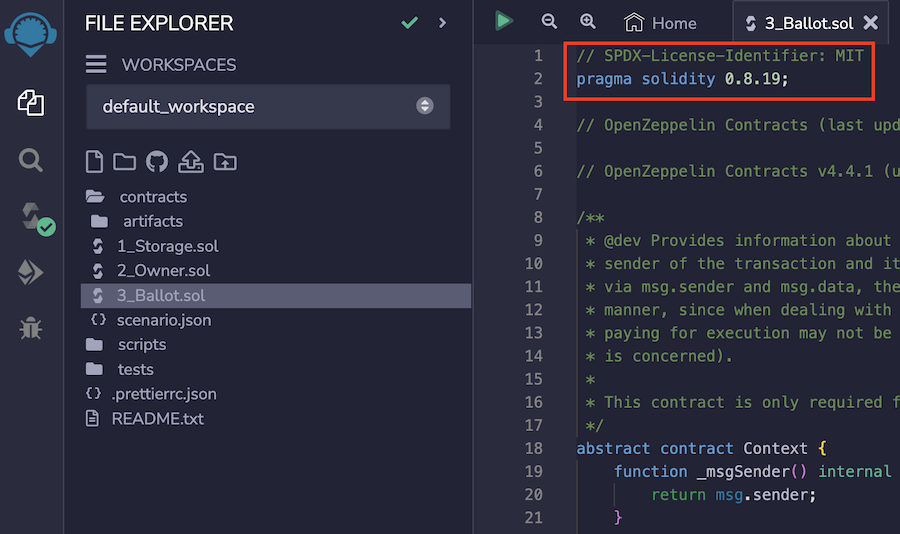
You can read more about this error in this article, which explains what is going on: https://www.zaryabs.com/push0-opcode/.
If everything is okay with your code, the compiler will start its work, and after all, you will see a green icon in the left menu.
Deployment process
Now we need to choose the desired blockchain network in our wallet. In my case, I need to open MetaMask and choose Polygon Mumbai.
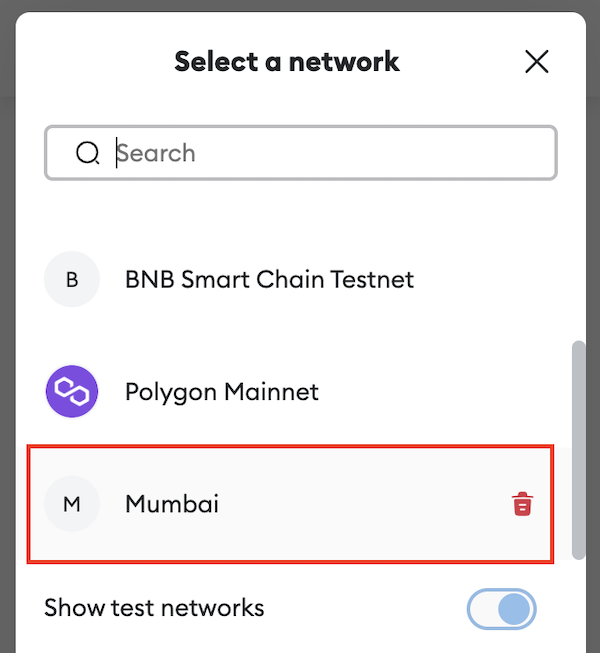
If you don’t see your network, you can simply open https://chainlist.org/ and find all the information there to add a new network to your wallet. Just connect your MetaMask to their website and add the network.
If everything is okay, make sure you have enough native network tokens (for Polygon, you need test MATIC tokens; for Binance – tBNB; and for Ethereum Sepolia – SepoliaETH). If you don’t know where to get test tokens, please read my detailed article about getting free tokens for testing purposes.
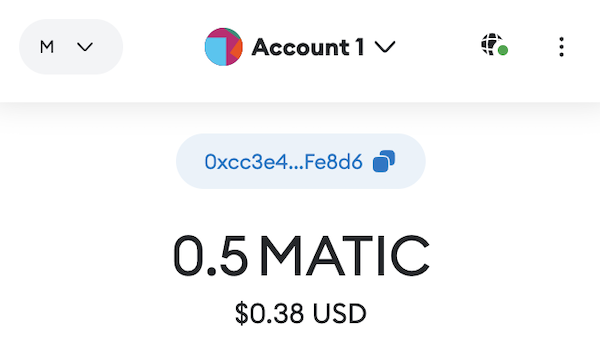
Now we are ready to start our deployment. In Remix IDE, in the left menu, open the “Deploy & run transaction” section (Ethereum icon).
In the Environment dropdown, choose “Injected Provider” to connect your wallet to Remix IDE. You will be additionally prompted by your wallet to do so.
In the “Contract” section, choose your main smart contract. In my case, I chose “FutuSho”, in your case, there will be other options. Once again: you need to choose your main smart contract, neither libraries nor something else.
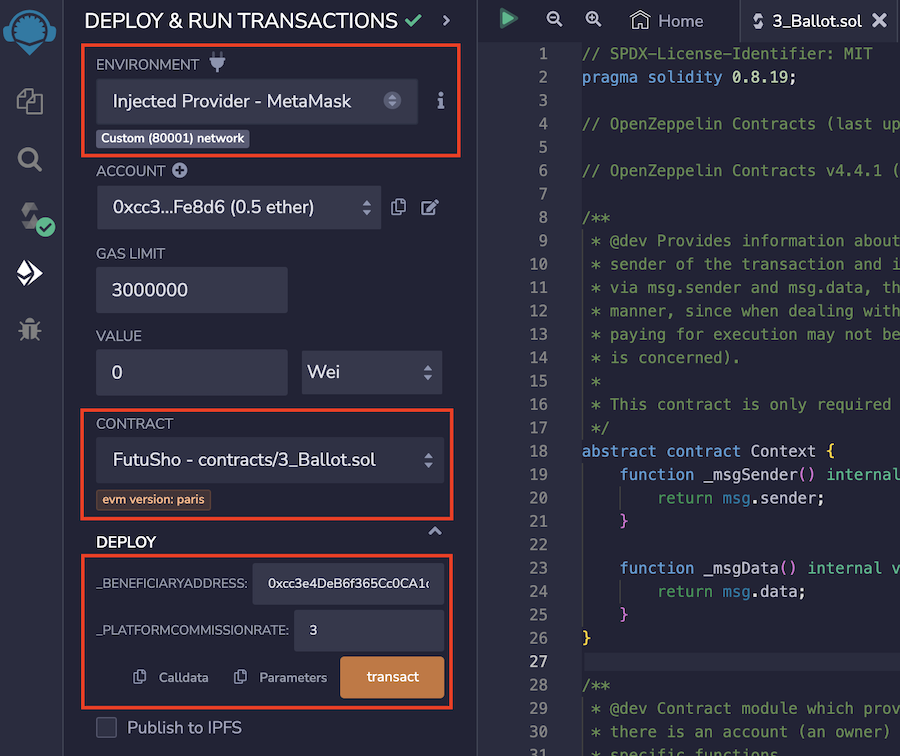
If your smart contract has a constructor function, you need to pass your parameters in the “Deploy” section. My smart contract requires me to fill out the beneficiary address and platform commission rate.
Looks good, right? Now press the “Transact” button to start deployment. The MetaMask window will appear on your screen to sign this transaction.
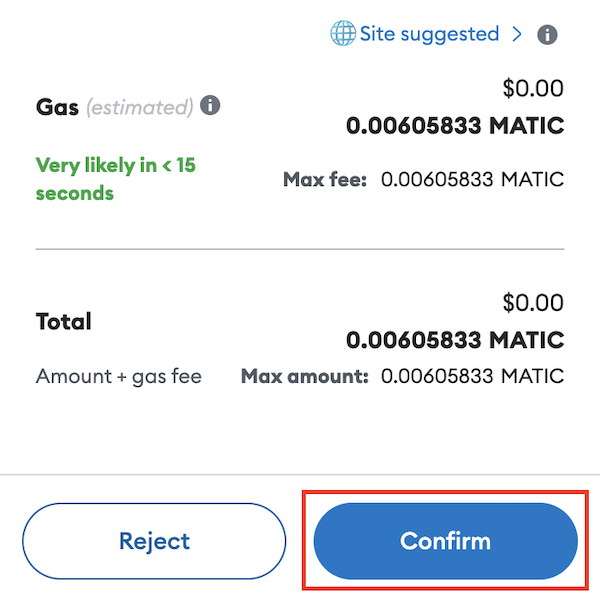
Wait for a minute, and in the Remix IDE, you will see your deployed smart contract. Congratulations!
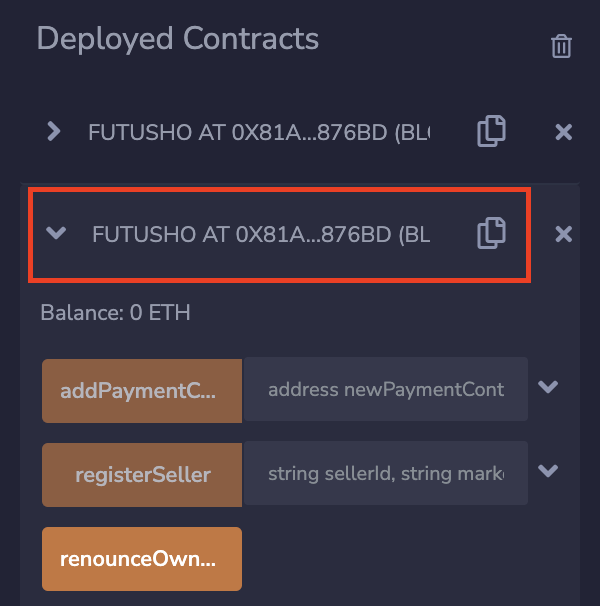
In this section, we need to click on the “Copy” button to get the smart contract address, and we are ready to verify the smart contract.
How to verify smart contract code
As we have our deployed smart contract address, we can proceed with verification. And first of all, we need to open our smart contract using a blockchain explorer. The URL depends on the blockchain network which you used to deploy your code.
Here is a list for test networks:
- Ethereum Sepolia: https://sepolia.etherscan.io/
- Polygon Mumbai: https://mumbai.polygonscan.com/
- Binance Smart Chain Testnet: https://testnet.bscscan.com/
Find smart contract in the blockchain explorer
As we use Polygon Mumbai, we need to open their website and paste our smart contract address into the search form.
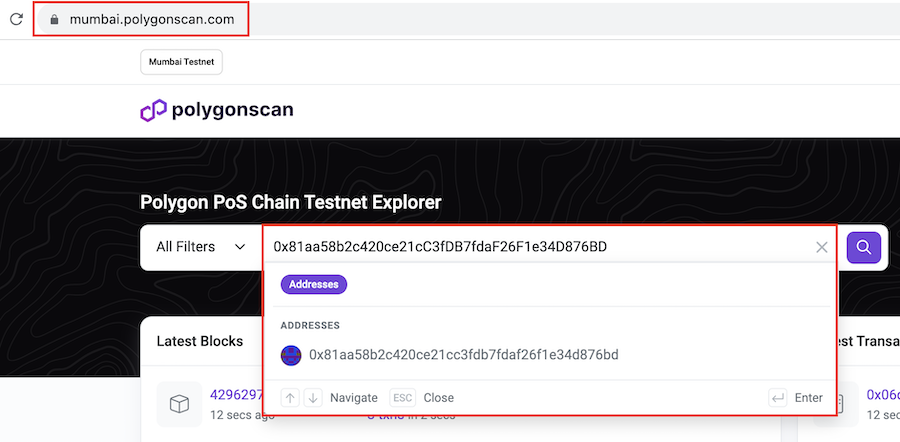
When you click on your smart contract in a dropdown menu, you will be redirected directly to your contract. Navigate to the “Contract” tab and click the “Verify and Publish” button.
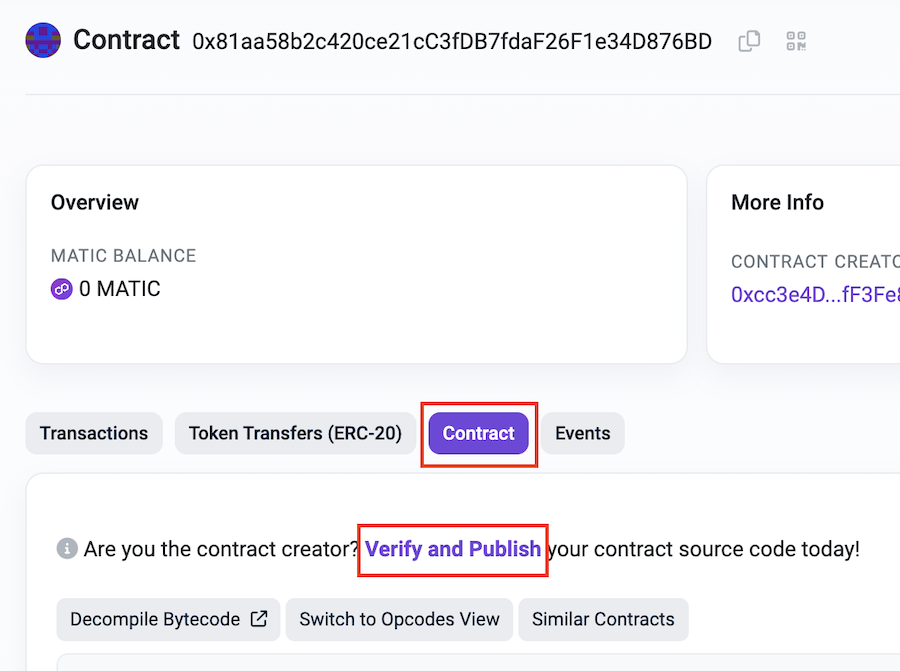
Let’s fill out the form step by step.
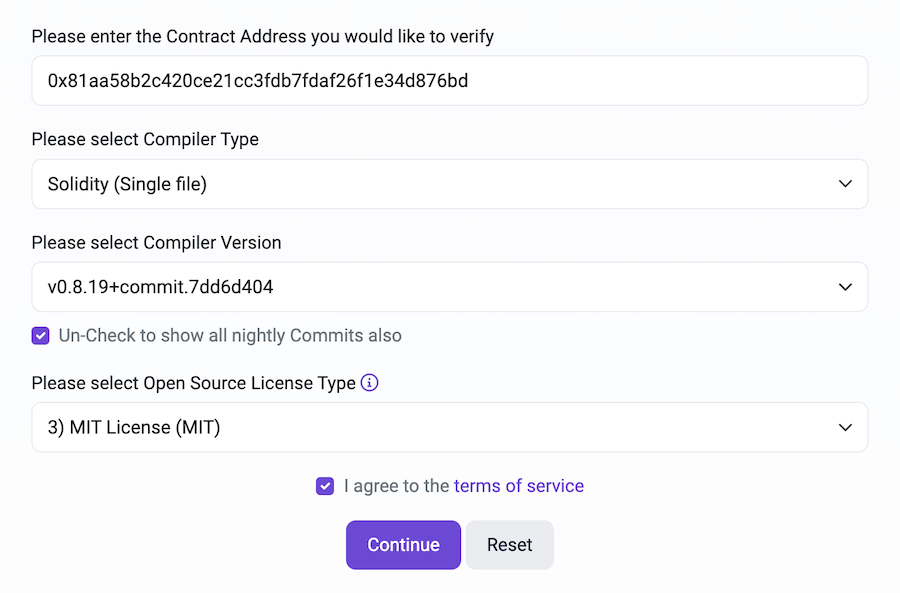
You need to select the compiler type (every time I use “Single file” because we have flattened code already), Solidity version (exactly the same which you used to deploy your contract, in this case, I used 0.8.19, and not 0.8.21), and lastly choose a license.
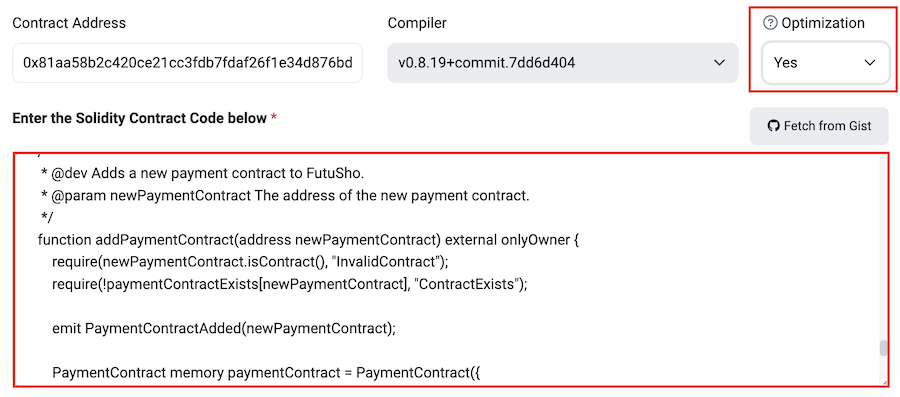
Scroll down, and you will find other options, such as “Optimization” where we should set the value equal to Remix IDE, usually it has 200.
And in the large textarea, we need to copy our code from Remix IDE (exactly the same code, without any changes) and paste it there.
If you passed any values to your smart contract constructor function while deployment, you have to encode these values using an external tool. Otherwise, your contract will be rejected by a verification tool and will not be verified. If you don’t need any arguments in your constructor, just skip this step.
Encoding constructor arguments
In my constructor, I have two arguments: an address and uint256.
Open this Solidity Decoder/Encoder tool: https://www.moesif.com/solidity-abi-hex-decoder/encode and fill out its form with your arguments.
In my case, I need to put the beneficiary address, then a comma, then the platform commission value. And pick valid types for my arguments, which are address and uint256. It’s crucial to fill out this form correctly. Any typos will bring you headaches.
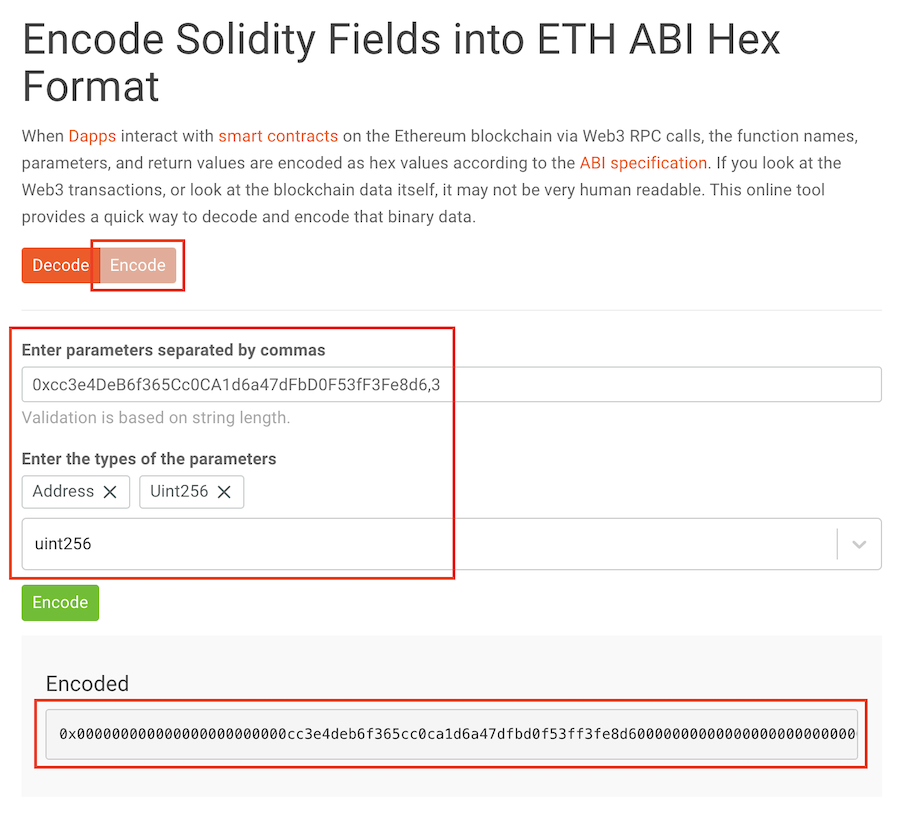
When you click the “Encode” button, you will see in the “Encoded” section your ABI-encoded constructor arguments, which we will put into the verification tool. Copy this value without leading 0x characters. It’s important.
Now let’s get back to our verification tool and put this encoded value (without 0x) into the following text field.

Looks crazy. But we have one last step – set 200 to the “Runs” variable inside “Misc Settings” in the same verification form. It is the same value which we used while deploying a smart contract in Remix IDE.

Verification and Publishing
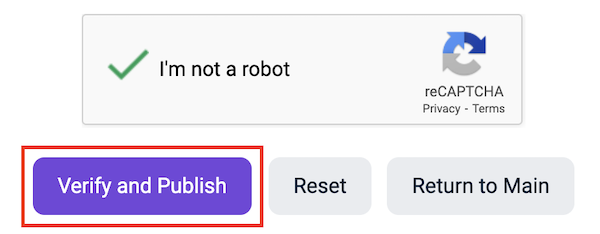
It’s time to begin verification! Proceed with the captcha and click “Verify and Publish.”
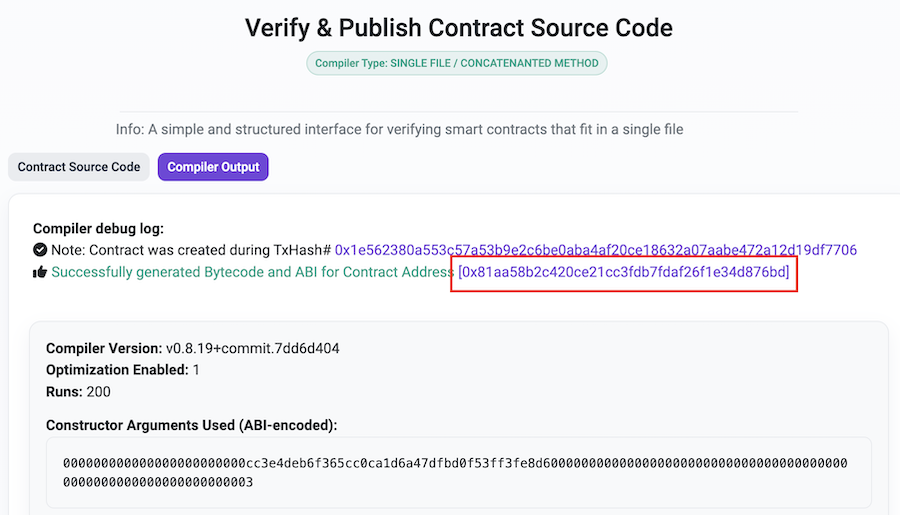
In 15-30 seconds, your contract will be verified.
How to Interact with Verified Smart Contract
If you open your smart contract in the blockchain explorer (or simply click a link in the screenshot above), you will see your contract status badge.
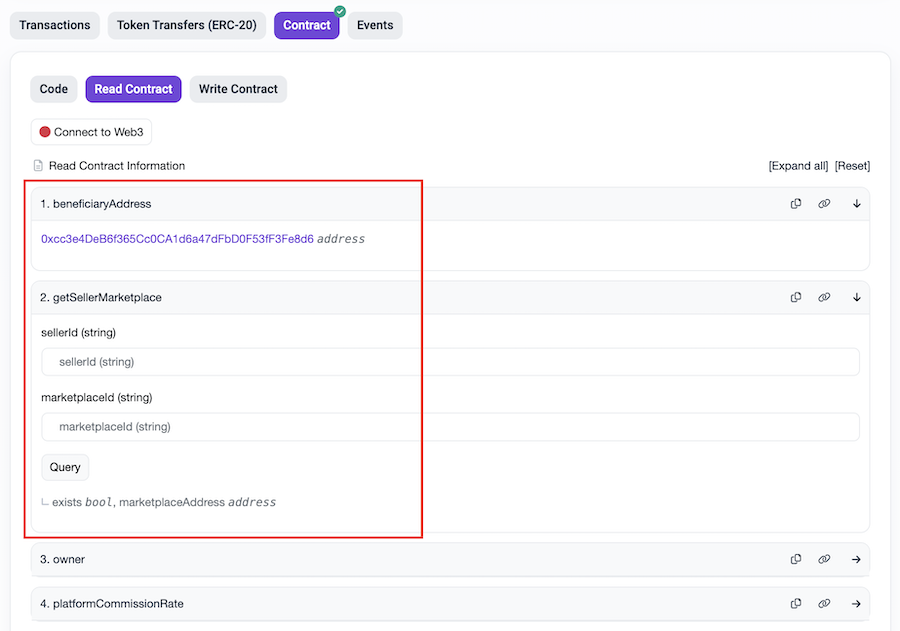
You just need to open the “Contract” tab again (you will see a green checkbox), and your contract will provide you with all the functions available in your codebase.
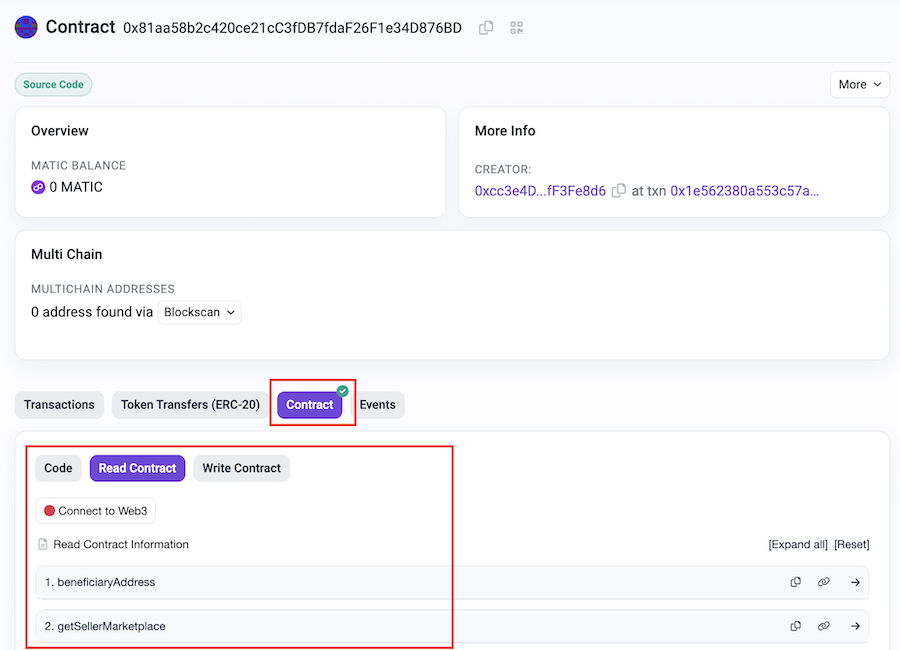
You can use “Read Contract” for calling functions, “Write Contract” for performing transactions.
Conclusion
I hope you guys enjoyed this reading. If so, please share this article with your friends and colleagues. It will help me a lot and motivate me to write more useful content for you.
Need Assistance with Developing Smart Contracts?
I’m ready to help. Book a call with me and ask your questions.


0 Comments